Skip to content
Whether you own a Weston meat grinder or you intend to get one, you should be confident enough in knowing all the steps involved in how to use a Weston meat grinder. You can obtain the meat from either hunt or cow from your nearest local farmer so that you can customize your Weston meat grinder.
Therefore, for your grinder to last longer, you need to know how you can use it effectively and efficiently without any interruption. In this article, we are going to discuss in length the proper ways of using your Weston grinder. Ensure to go through this guide so that you can obtain the best out of it.
You May Like

How to use a Weston meat grinder
(1) Preparing first your meat for grinding
Before doing anything on your Weston meat grinder, ensure to prepare your meat ready for grinding. Trim the excess cartilage, fat, and tendon away from your beef using a very sharp knife. Remember to chop the meat into small pieces that will fit comfortably to the grinder’s opening. Once you cut your meat, put it into a freezer for about 40 minutes to make it cold enough.
However, your meat should only get cold but not frozen like ice because cold meat is capable of retaining the shape accurately well as well as preventing the melting of fats. Besides, since Weston grinder requires manual operation, make sure to put a huge bowl that is clean inside the freezer.
Immediately you begin the grinding process, remember to place your bowl at the end of the grinder’s exit point so that you can make the meat to remain calm throughout the entire process. Besides, the bowl plays a very vital role in preventing bacteria from growing up in the grinder.
(2) Installation of your Weston meat grinder
Before you begin using your Weston grinder, make sure to install your manual Weston meat grinder by first;
(a) Recognition of the parts of the grinder
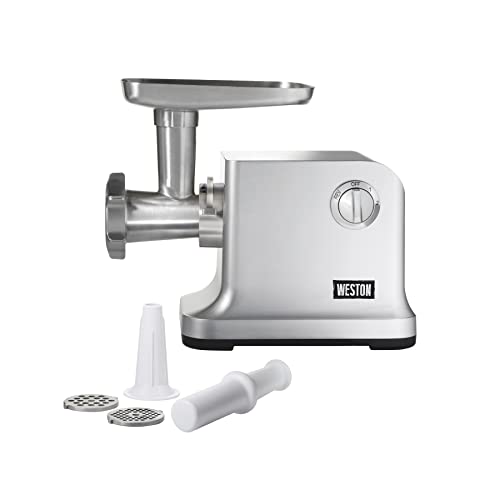
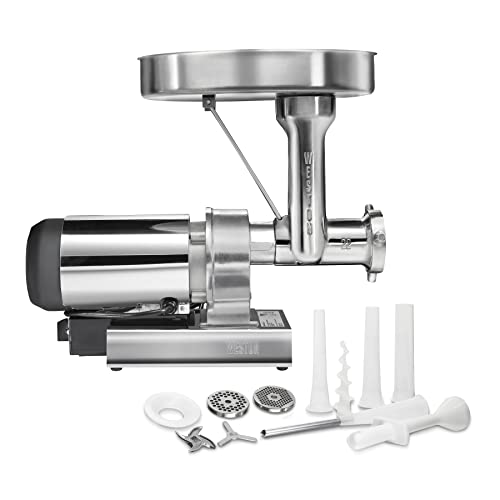
For effective grinding, it is good to put into place all the necessary components of the grinder together. Some of these components include; collar, a nut, locking ring, grinding plate, eye screw, and main body, cross knife, hopper, and finally, an auger.
(b) Cleaning
Once you have all the recognized materials, it is good to sanitize and wash them before you begin assembling them firmly together. You can use enough water and soap when removing them and then allow them to dry.
(c) Place the handle to the body
Placing the handle onto the main body of the grinder is our next step in the installation of the mill. Insert the handle to its position and use a feeding screw to fix it completely. Make sure that the handle is free in running or rubbing. In case it is rubbing, you should repeat the entire process of setting it again.
(d) Fixation of the auger
Auger plays an essential role in holding the blades and plates more effectively when in use. The plates exist in three different forms, such as fine, medium, and coarse. Therefore consider the most appropriate for your installation. For the proper restoration of the plates, you can begin by fixing the blade into the drill of the grinder.
(e) Mounting
Mounting is usually your last step in the installation process. It would be best if you put the grinder in a place where you feel that it is comfortable and secure. Sometimes, wedges are suitable for use in securing the position where you are putting the grinder. Immediately you finish the mounting step. You can now begin grinding your meat because your Weston is ready.
(3) Grinding process using Weston grinder
Once you complete the installation process in your grinder, you can comfortably start grinding using your Weston grinder. But the question is, how does this Weston grinder work? To begin with, grab your prepared meat and immediately start moving the grinder’s crank slowly as you place the slice of meat on it.
Continue moving the crank in slow motion and allow the blades of the Weston grinder to pull the meat properly out of it altogether. However, it would help if you were very careful of not letting your fingers to push the meat down since the grinder blades are very sharp and might cut your fingers.
Use all the meat slices to repeat the entire process, and once you complete, you can run the slab so that you can clear the remaining pieces within the blades. Pick the sections and immediately discard them.
Your ground meat needs proper storage. Therefore, you can comfortably store them in ground bags from Weston, which comes with a neck sealer in keeping your meat fresh and safe when stored into the freezer. Alternatively, in the absence of a Weston bag, you can make use of a vacuum with Weston sealer.
(4) Clean your Weston meat grinder
It is good to maintain general hygiene and cleanness on your grinder. Besides, and you can replace the brand new cleaned knife, drill and plate. Moreover, you can disassemble everything from the Weston grinder and clean them using soapy water. Ensure to dry every part of the mill, and you can use a silicone spray, which is very useful in protecting and lubricating the parts of the grinder.
After thorough cleanness on your grinder, you can substitute the grinder plates and knives regularly. Ensure to buy the type of steel similar to the previous one because various steel comes with a varying hardness that may cause scraping of the harder knife. Notably, a harder plate tends to make your blade dull quickly.
Conclusion
In general, having learned how to use a Weston meat grinder, we hope that you can put the skills and knowledge gained into work in preparing a delicious meal for your friends and family. You can agree with us that the Weston meat grinder is very simple and easy for use, provided you follow the steps correctly. Besides its usage, ensure to maintain the general cleanness and hygiene after use and store it properly.

Hi, this is Cynthia A. Rose. Welcome to my Grinder related blog. Usually, I am busy with my kitchen and cooking all day. My main desire is to create a new recipe every day. But I have to use new tools every day to create new recipes. In this blog, I will share you how to use kitchen tools properly. I will not just share cooking related equipment, I will try to review all kinds of grinders like angle grinder among you. I hope my 12 years of experience will come in handy. Thanks!