Skip to content
A KitchenAid meat grinder is a fantastic tool that is far better than just any other grinder. A good number of people nowadays like making a healthier meal for their families and friends, which is indeed possible using your KitchenAid meat grinder. Therefore, knowing how to use a KitchenAid meat grinder is essential for you.
KitchenAid is an efficient and robust grinder useful for all different types of meat. Besides, the machine makes it possible to raise your meat as well as process it yourself without straining in one way or the other.
In this post, we are going to describe how this KitchenAid meat grinder works to enable you to prepare delicious meat out of it.
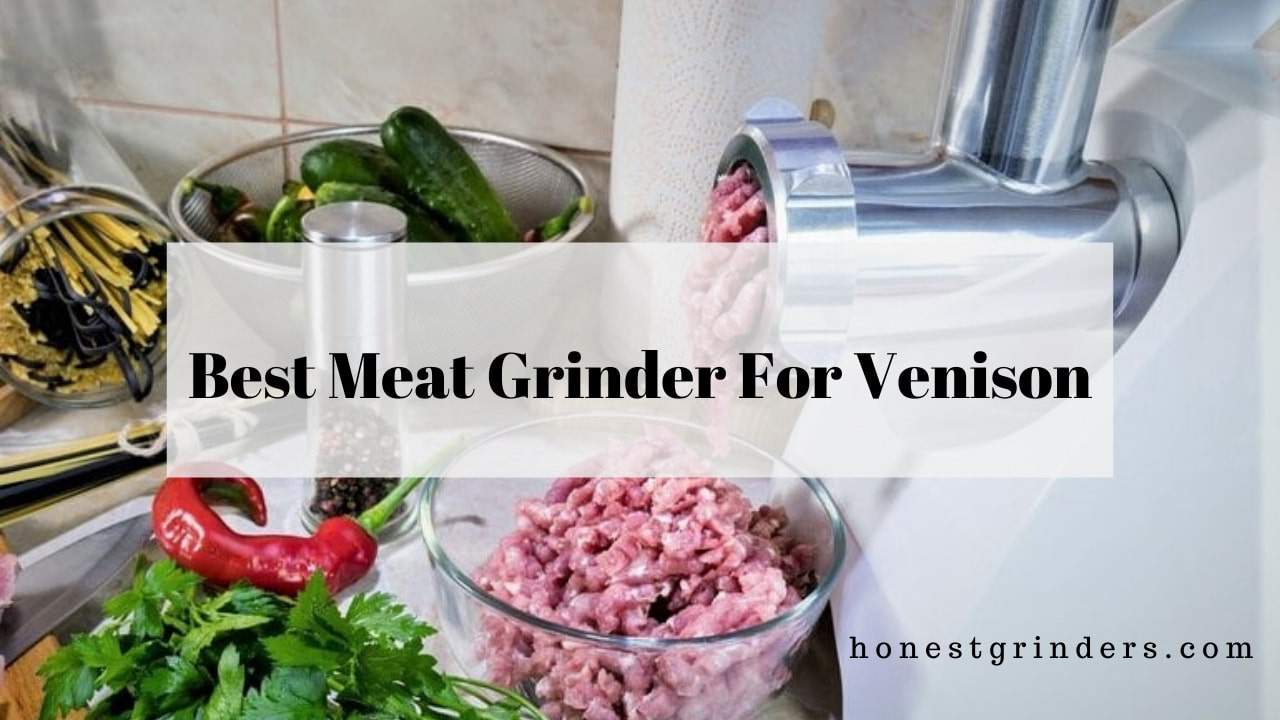
Step By Step On How To Use KitchenAid Meat Grinder

- Connect to any household KitchenAid Stand Mixer power hub and use the...
- The possibilities for creating fresh, inventive foods are endless with...
- The larger food tray allows you to process more ingredients in one...
- Pre-chill the grinder in the refrigerator or freezer to maintain a...
1. Cut your meat into cubes
Before you begin the grinding process, it is essential to chop your beef chuck into small cubes. This beef chuck contains about 15% of the fat content which is perfect.
In this case, therefore, you may use sirloin, or at the same time, you can use the combination chuck and sirloin. However, in case you want to obtain extravagant meat, you can grind beef burgers.
2. Chill the cubes of the meat in the freezer for half an hour
What is the reason for freezing the meat? Freezing the chicken usually is essential since it enables in holding the shape of the meat quite better and makes it simple to go through your grinder more easily.
Besides, it is advisable for food safety, to begin with, semi-frozen meat.
3. Freeze the plate of the grinder and some other cutting parts
The next step requires putting the grinding plate, blade, and the other rotating worm grind into the freezer together with your beef meat. Once you are ready to begin, assemble the KitchenAid grinder. Additionally, you can put these grinder parts into the freezer if you intend to grind more and more.
4. Put your meat with ingredients in the KitchenAid grinder hopper
In case you intend to grind a tremendous amount of your meat, say 2-3 pounds, or even more, it is advisable to ensure that you put it on the ice so that you can prevent the growth of any bacteria.
In case you intend to grind into the bowl, make sure you put a block of ice into a large bowl as you nestle your small bowl to the ice so that to create the final product chill all the time.
5. Turn your grinder on as you push the meat into the grinder
At this stage, you need to follow the manufacturer’s instructions for proper setting on the appropriate speed to use.
With the presence of this KitchenAid around, you can turn the mixer on and adjust it to the speed of four and immediately press your meat to the hopper using your food pusher.
Likewise, you can as well mix it with onions, herbs, raw garlic, or any other ingredients. However, it would be best if you did not dare to add any salt at this stage.
It is essential to add your salt at the end of the process so that you can determine the flavor of your meat.
Never try to stick your toes, fingers, or any part of your body into or closer to the hopper. Besides, in case you have very long hair, make sure you tie it from your back, or if you have a hat, you can as well put it inside when you are operating the KitchenAid grinder.
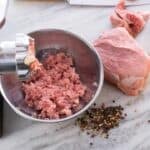
6. The final ground beef
This is where you can comfortably season with salt and other freshly ground pepper, which is black. At the same time, you can add any vital ingredients you could prefer to add.
Mostly, Worcestershire’s source is the best for use in this case. However, you can as well use fresh Dijon mustard.
At times, most chefs like tasting the raw meat so that they can test the usual seasoning. You always know it by grinding it. Therefore, you can cook up any quantity that you desire and taste it all.
7. Form your meat gently into patties
You can shape your meat into balls of about six ounces that are perfect enough. Immediately, you can flatten them into the patties.
However, avoid packing your meat too tightly without making snowballs. Besides, it is good to note that too much pressure may give you a very tough burger. Therefore, use moderate pressure.
8. Broil to your preference
You can cook your ground meat to a minimum internal temperature of about 165 F. no matter which conditions, make sure you cook ground turkey or chicken to a temperature of about 165F.
However, if you are using beef chuck, the content of its fat keeps the burgers moist and friendly even when cooked at 165F.
How to care for your KitchenAid meat grinder
When it comes to caring for and maintenance of your KitchenAid meat grinder, you need to ensure that the grinder blades are as sharp as they were.
They require special care since blades are the ones that are responsible for the entire function of the grinder.
Usually, dull blades produce a very horrible texture when grinding your ground meat. Therefore, to prevent your blades from getting dull, ensure that you use it as many times as possible.
The more you keep on using them, the plate and blade tighten and touch each other, thus keeping them sharp all the time.
Additionally, note that, as long as you keep your KitchenAid meat grinder properly and safe, it is capable of producing the best delicious meal that you desire.
Conclusion
From our guide above, we hope that you have gotten all that you need to know on how to use the KitchenAid meat grinder. As you can see, the kitchen meat grinder is a very significant investment that you need to have in your kitchen.
Therefore, like any other grinder, you should follow all the care and maintenance practices for your grinder to last for an extended period.

Hi, this is Cynthia A. Rose. Welcome to my Grinder related blog. Usually, I am busy with my kitchen and cooking all day. My main desire is to create a new recipe every day. But I have to use new tools every day to create new recipes. In this blog, I will share you how to use kitchen tools properly. I will not just share cooking related equipment, I will try to review all kinds of grinders like angle grinder among you. I hope my 12 years of experience will come in handy. Thanks!